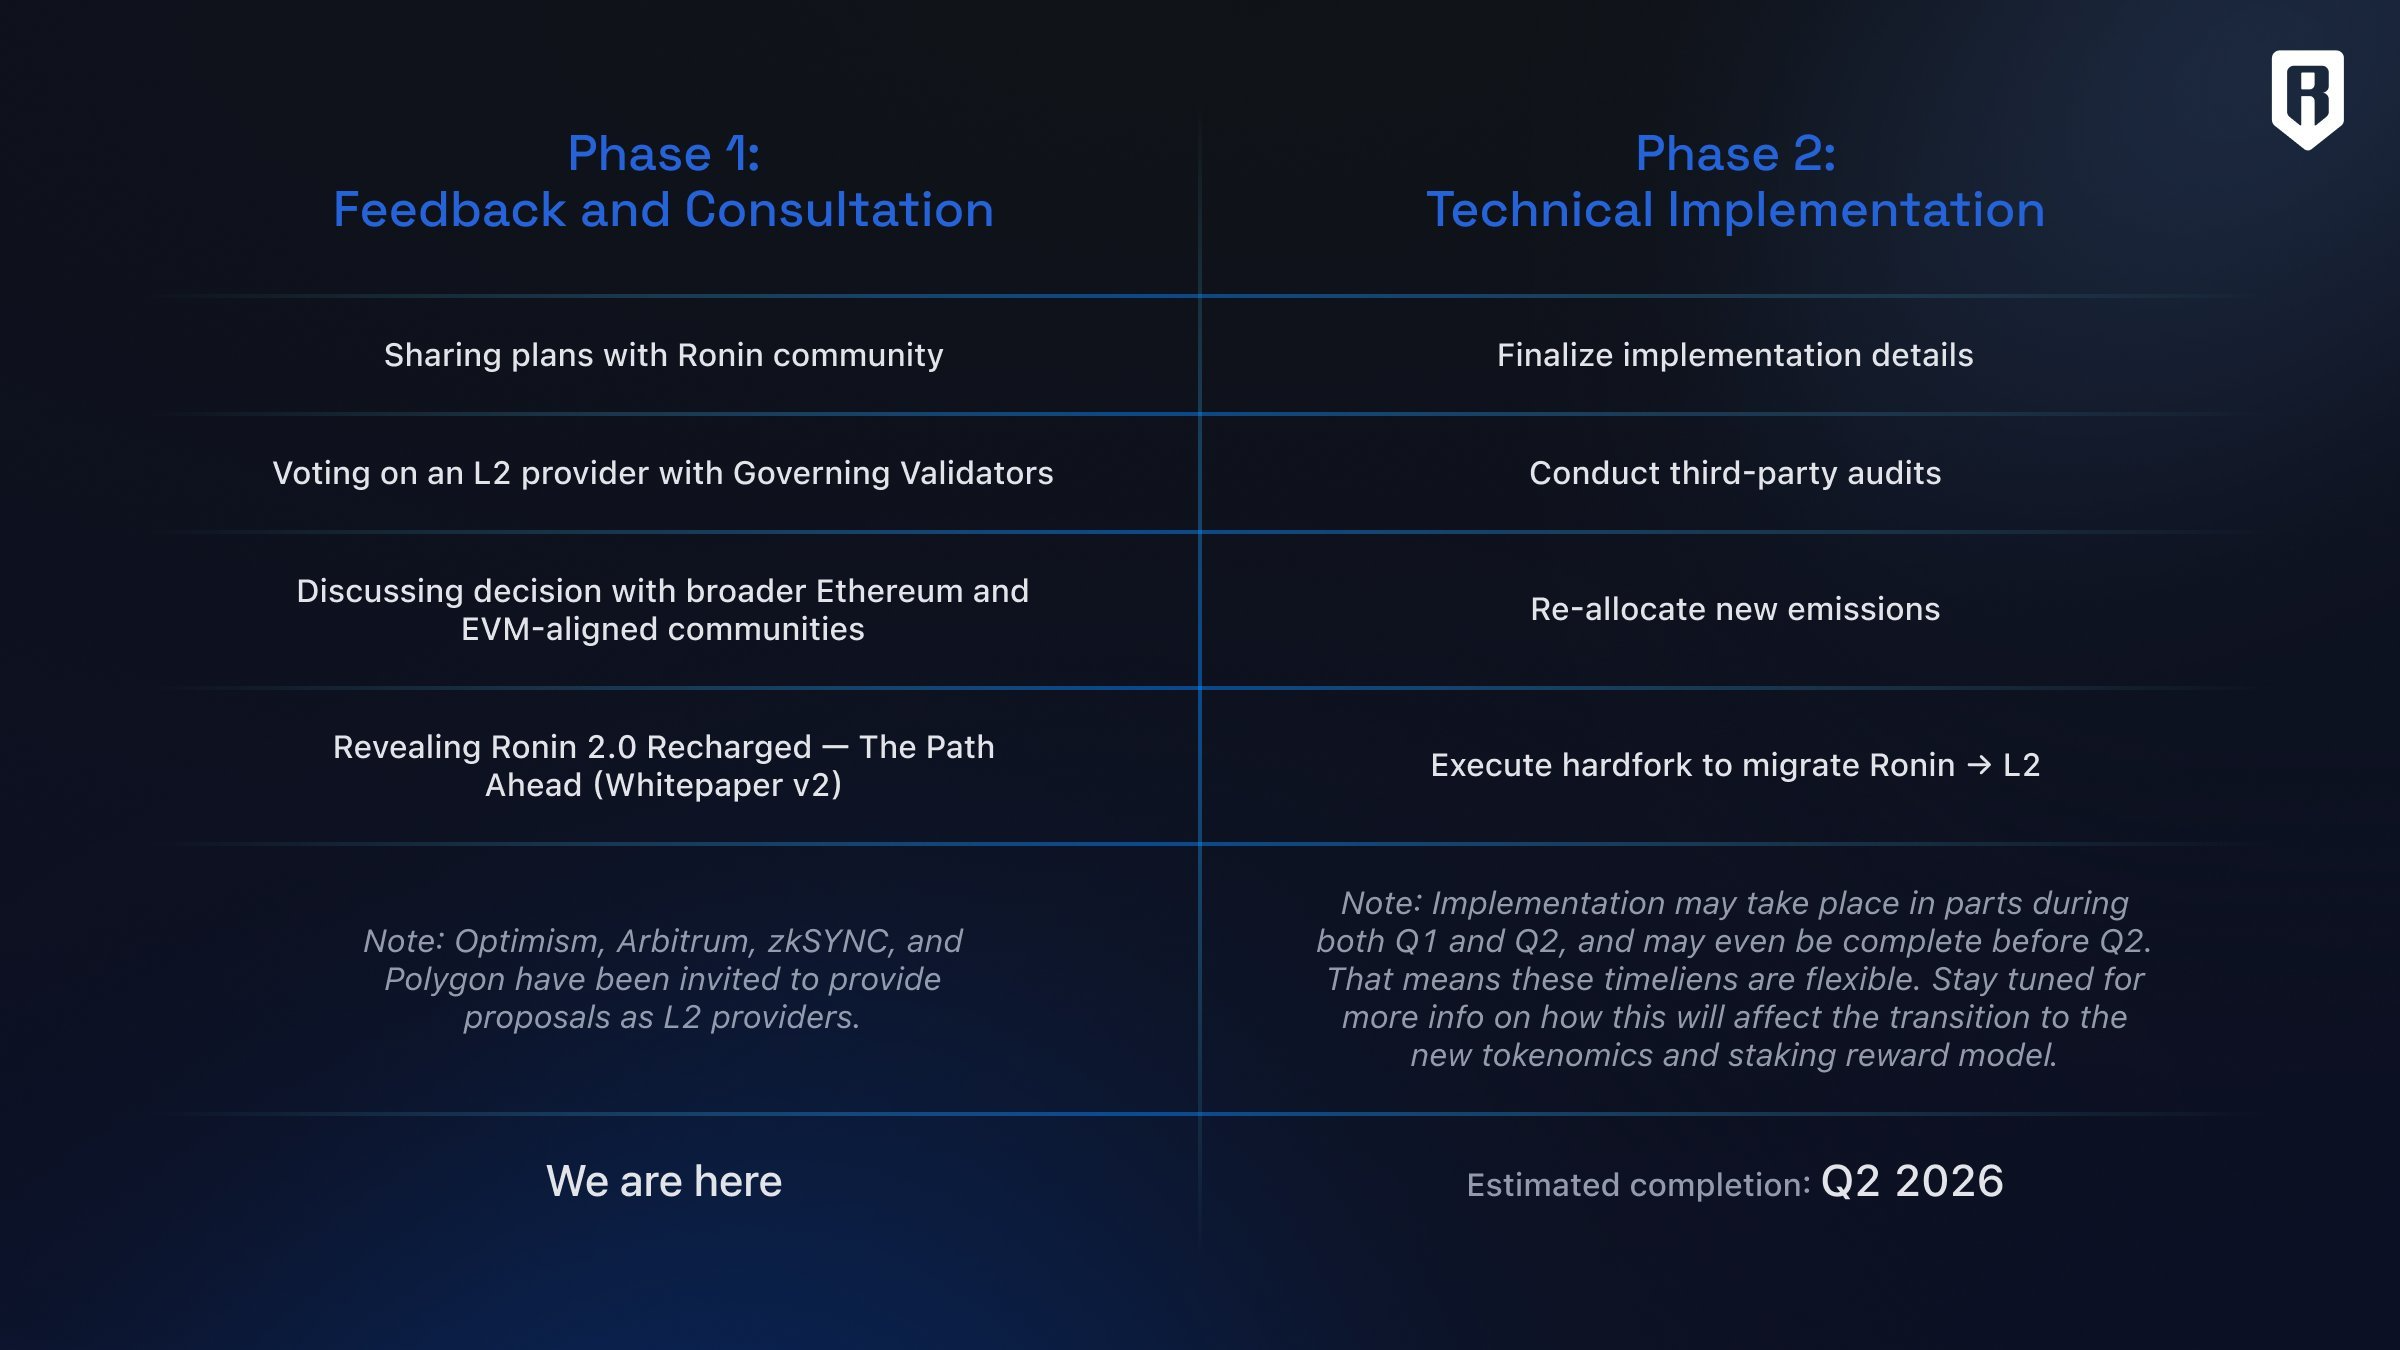
Ready to launch your own custom Ronin L2 rollup? The Ronin ecosystem is rapidly evolving, and with the migration to a full Ethereum Layer 2 rollup scheduled for Q1-Q2 2026, there’s never been a better time for developers to get hands-on. Whether you’re building the next play-to-earn hit or a DeFi protocol with ultra-low fees, this guide will walk you through each critical step of deploying your own Ronin L2 rollup, from initial planning to testnet deployment.
Define Your Rollup Use Case and Requirements
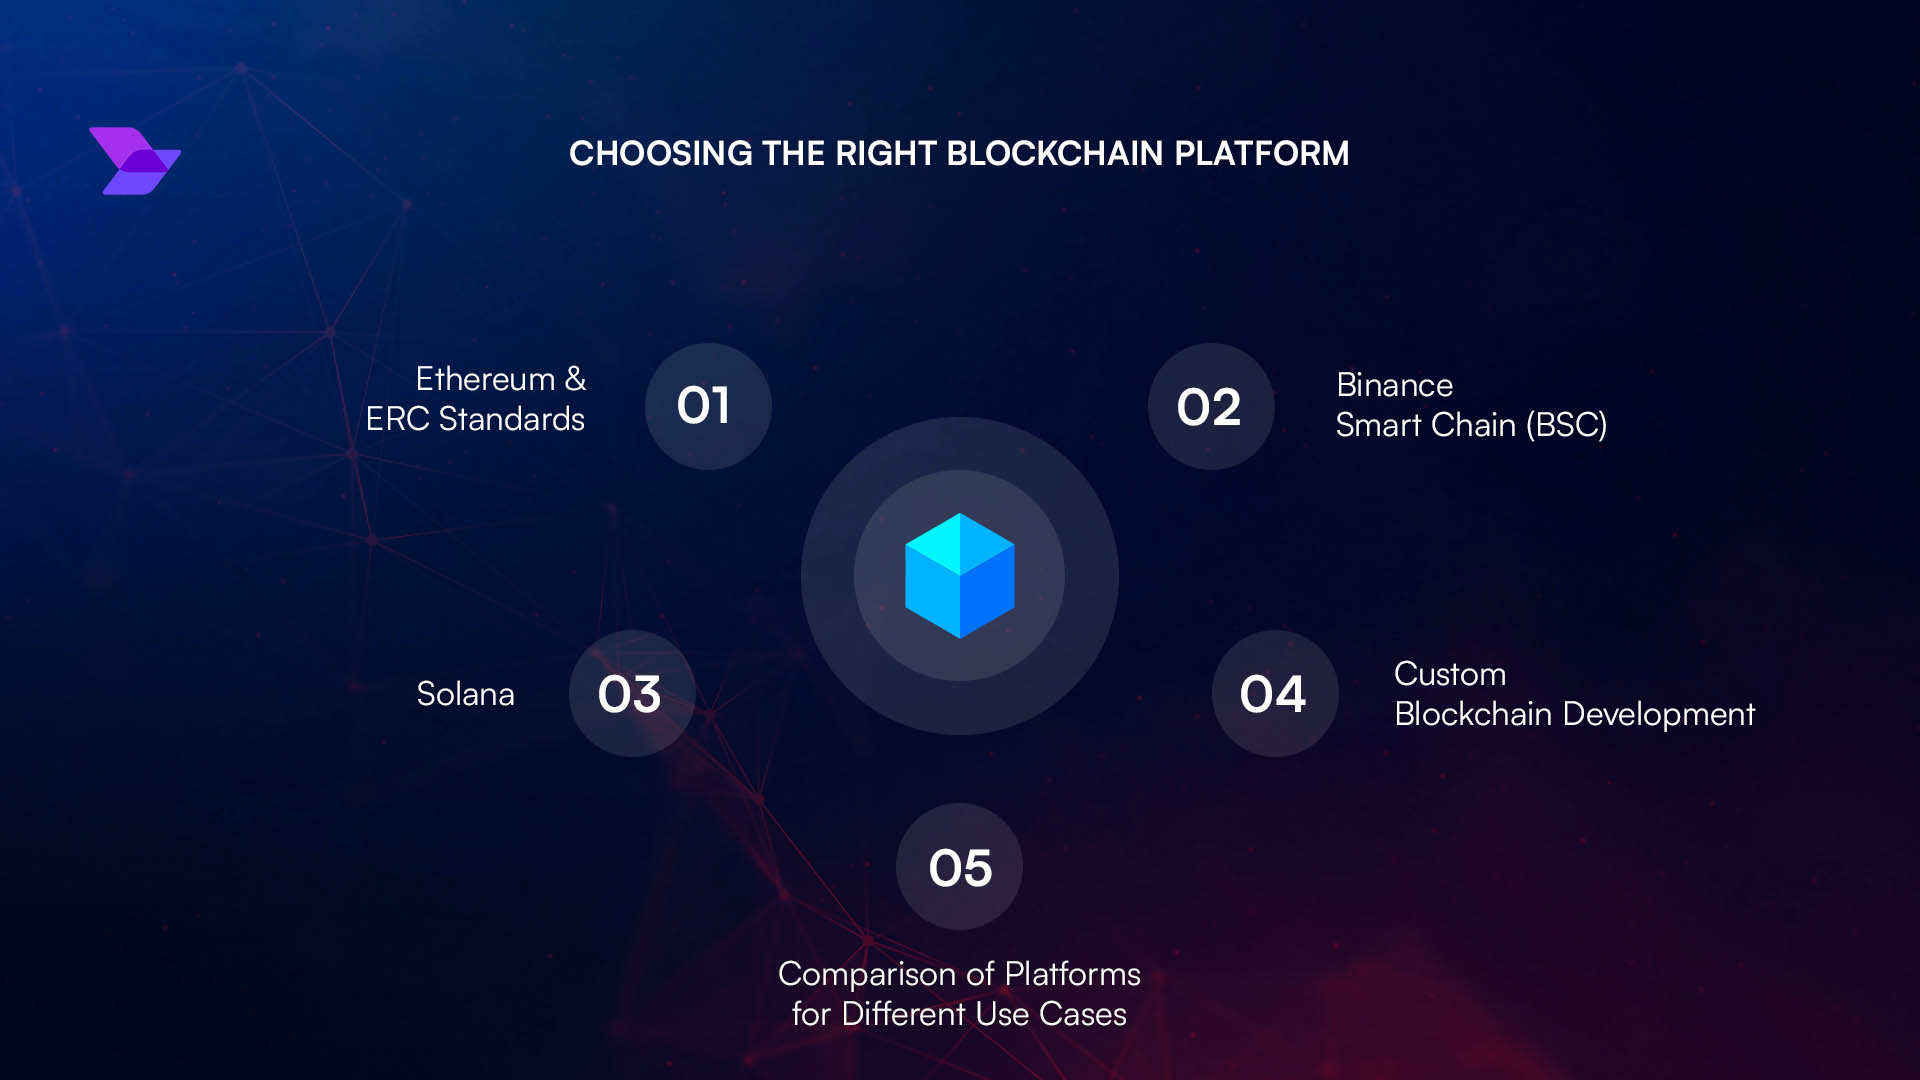
Every successful Ronin L2 project starts with a crystal-clear vision. Ask yourself: What problem does my rollup solve? Is it designed for high-throughput gaming transactions, NFT marketplaces, or DeFi protocols that demand instant settlement? Your use case will shape every technical decision down the line, from consensus mechanism to gas fee structure. For gaming-centric chains, consider features like low-latency state updates and seamless wallet integration. For financial dApps, prioritize security and composability. Map out your scalability targets (TPS), interoperability needs, and compliance requirements before writing a single line of code.
Select the Appropriate Ronin L2 Rollup Framework
The next step is choosing your core technology stack. With Ronin’s transition toward zkEVM (powered by Polygon CDK), developers can now pick between Optimistic Rollups (like OP Stack) or Zero-Knowledge Rollups. Each framework has distinct pros and cons:
- OP Stack: Simpler fraud-proof model, faster to deploy testnets, strong EVM compatibility.
- zkEVM: Superior security guarantees via validity proofs, lower latency for withdrawals, ideal for high-frequency applications.
You’ll also need to stake 250,000 RON tokens to align incentives with the main chain, this isn’t just a technical requirement but a signal of long-term commitment. Dive into the Ronin Dev Hub for in-depth docs on both frameworks and integration best practices.
Key Steps to Launch Your Custom Ronin L2 Rollup
- Define Your Rollup Use Case and RequirementsClearly articulate your project's goals, target users, and technical needs. Consider whether your application is gaming-focused, DeFi, or NFT-driven to ensure the rollup design aligns with your objectives.
- Select the Appropriate Ronin L2 Rollup Framework (e.g., OP Stack, zkEVM)Choose between frameworks like zkEVM (leveraging Polygon CDK) or OP Stack, based on scalability, security, and compatibility requirements. Ronin's zkEVM is tailored for gaming and high-throughput dApps.
- Set Up and Configure Node Infrastructure (Validators, Sequencers, RPC)Deploy and configure essential components such as validators, sequencers, and RPC endpoints. Ensure robust infrastructure for uptime and performance, following Ronin's developer documentation.
- Deploy a Testnet Environment for Your Custom RollupLaunch a dedicated testnet to simulate real-world conditions, validate configurations, and test smart contracts. Utilize the Ronin Developer Console and Dev Hub resources for streamlined deployment.
- Integrate Bridging Solutions for Asset Transfers Between L1 and L2Enable seamless asset movement by integrating established bridges, such as the Ronin Bridge, to connect Ethereum mainnet (L1) and your Ronin L2 rollup.
- Conduct Security Audits and Launch Mainnet DeploymentEngage reputable security firms for comprehensive audits of your rollup and smart contracts. Once validated, proceed with a secure mainnet launch, staking the required 250,000 RON tokens to align with Ronin's incentive model.
Set Up and Configure Node Infrastructure
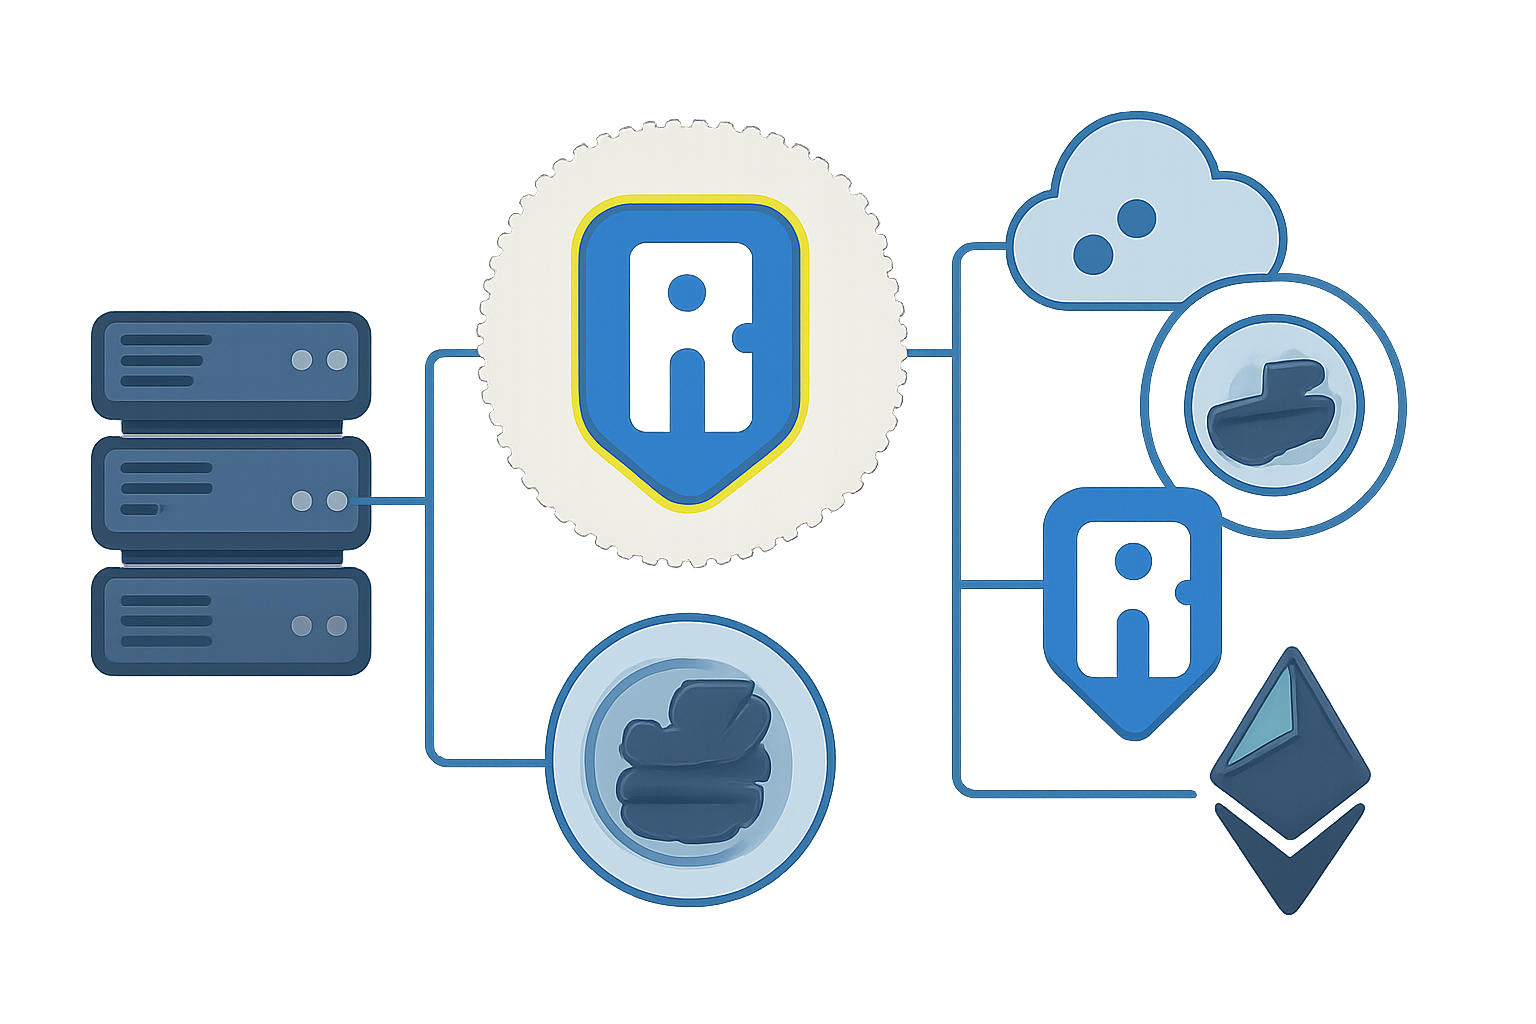
This is where theory meets practice. Robust node infrastructure is non-negotiable if you want real-world reliability. You’ll need at least three core components:
- Validators: Secure consensus by validating blocks on your rollup chain.
- Sequencers: Order transactions off-chain before batching them onto Ethereum mainnet via Ronin’s bridge.
- RPC Endpoints: Allow dApps and wallets to interact seamlessly with your custom chain.
Aim for geographic distribution and redundancy, use cloud services like AWS or GCP alongside bare metal servers if possible. Don’t forget monitoring tools! Real-time alerts on node health can mean the difference between uptime bragging rights and a costly outage. The Ronin Developer Console offers templates and dashboards tailored specifically for this purpose.
Your Next Steps: Deploying a Testnet Environment
The journey doesn’t stop here! In the next section, we’ll dive into spinning up your own testnet environment so you can iterate safely before going live. But first, let’s recap what it takes to build an unbreakable foundation for your custom Ronin rollup:
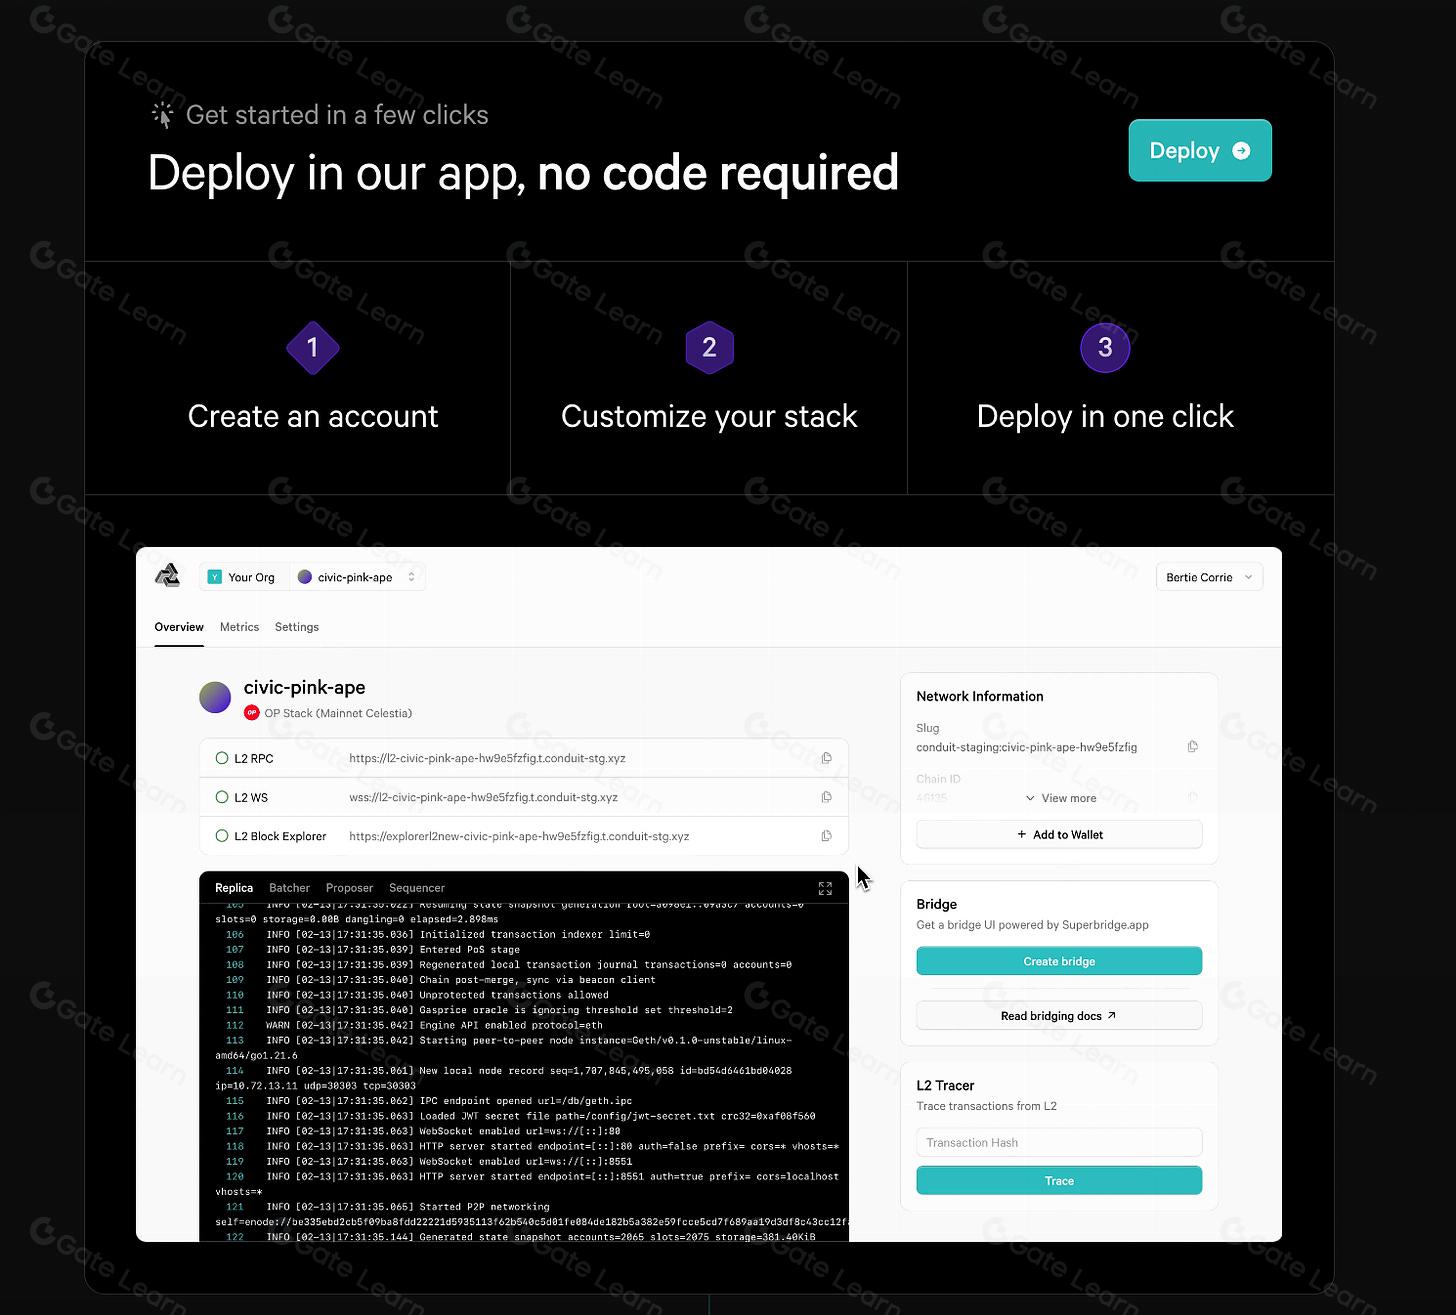
Launch Your Custom Ronin L2 Rollup: Illustrated Setup Guide

Once your node infrastructure is humming, it’s time to put your architecture through its paces. Deploying a testnet environment is the safest way to validate every assumption, catch bugs, and get real user feedback before mainnet exposure. On Ronin L2, testnet deployment is streamlined thanks to pre-built templates and robust developer tooling in the Ronin Dev Hub. Here’s how to make your testnet count:
- Spin up validator and sequencer nodes using cloud or local setups. Use monitoring dashboards for instant diagnostics.
- Deploy mock dApps or smart contracts that mimic your production use case, NFT minting, swaps, or game logic.
- Stress-test with simulated traffic. Push transaction throughput to your target TPS and beyond.
- Engage early testers. Leverage the Ronin Builder Discord for feedback loops and bug bounties.
This is where you’ll uncover edge cases, latency spikes, failed bridges, or contract misbehaviors, that could sink a production launch if left unchecked. Don’t shortcut this phase; iterate until your rollup performs under pressure.
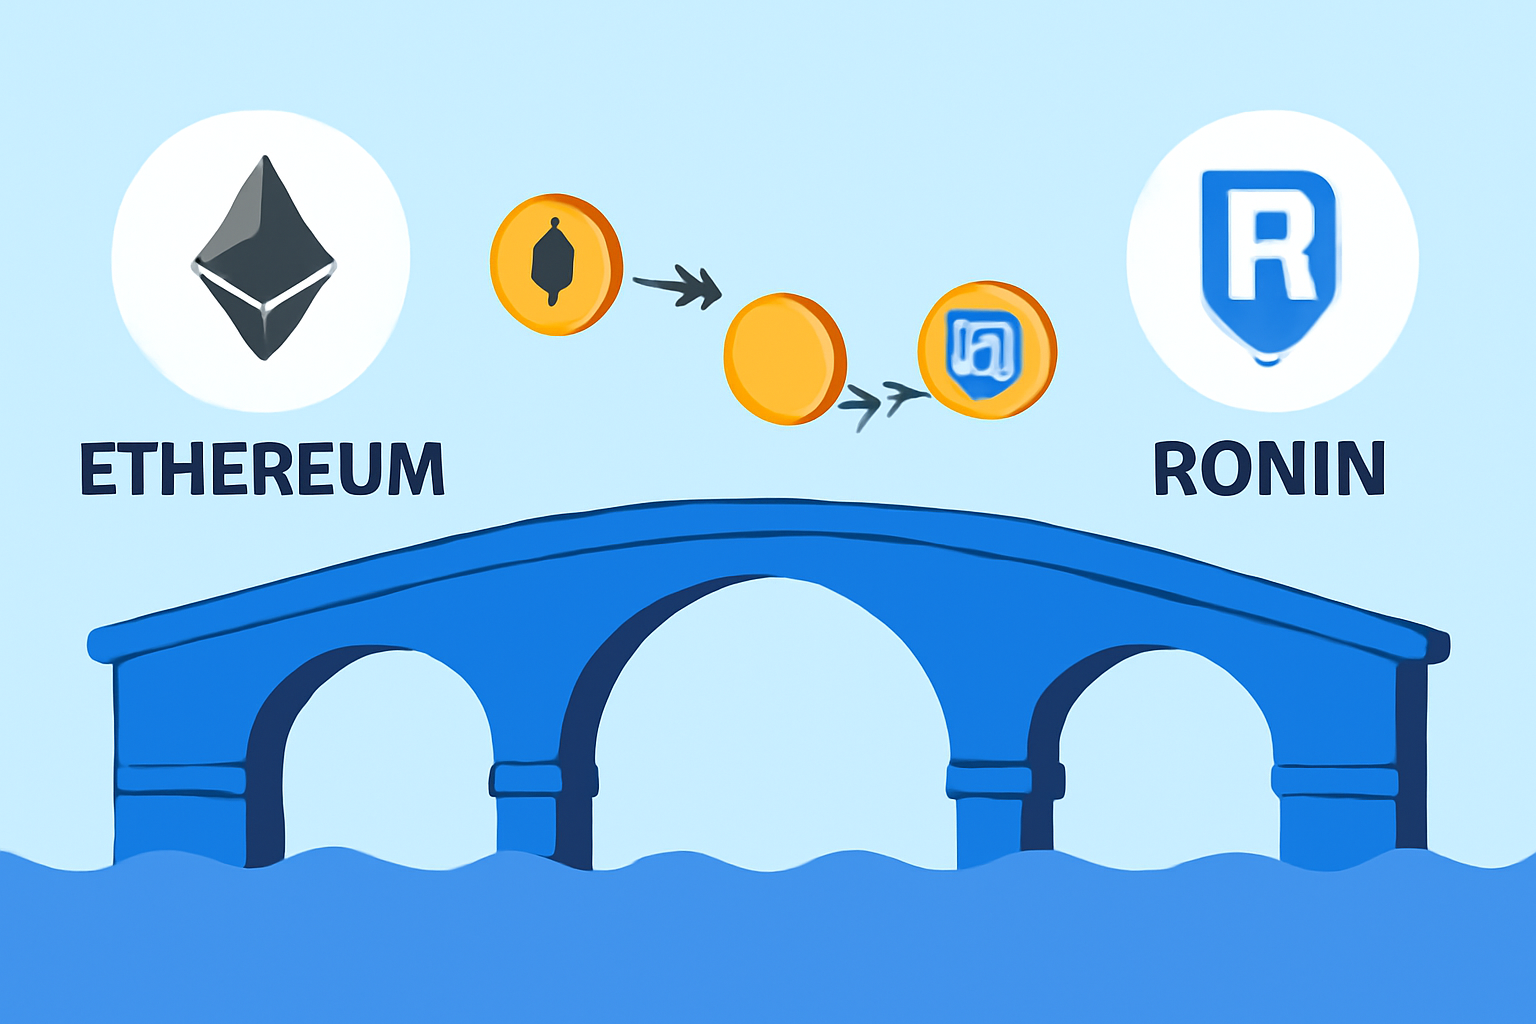
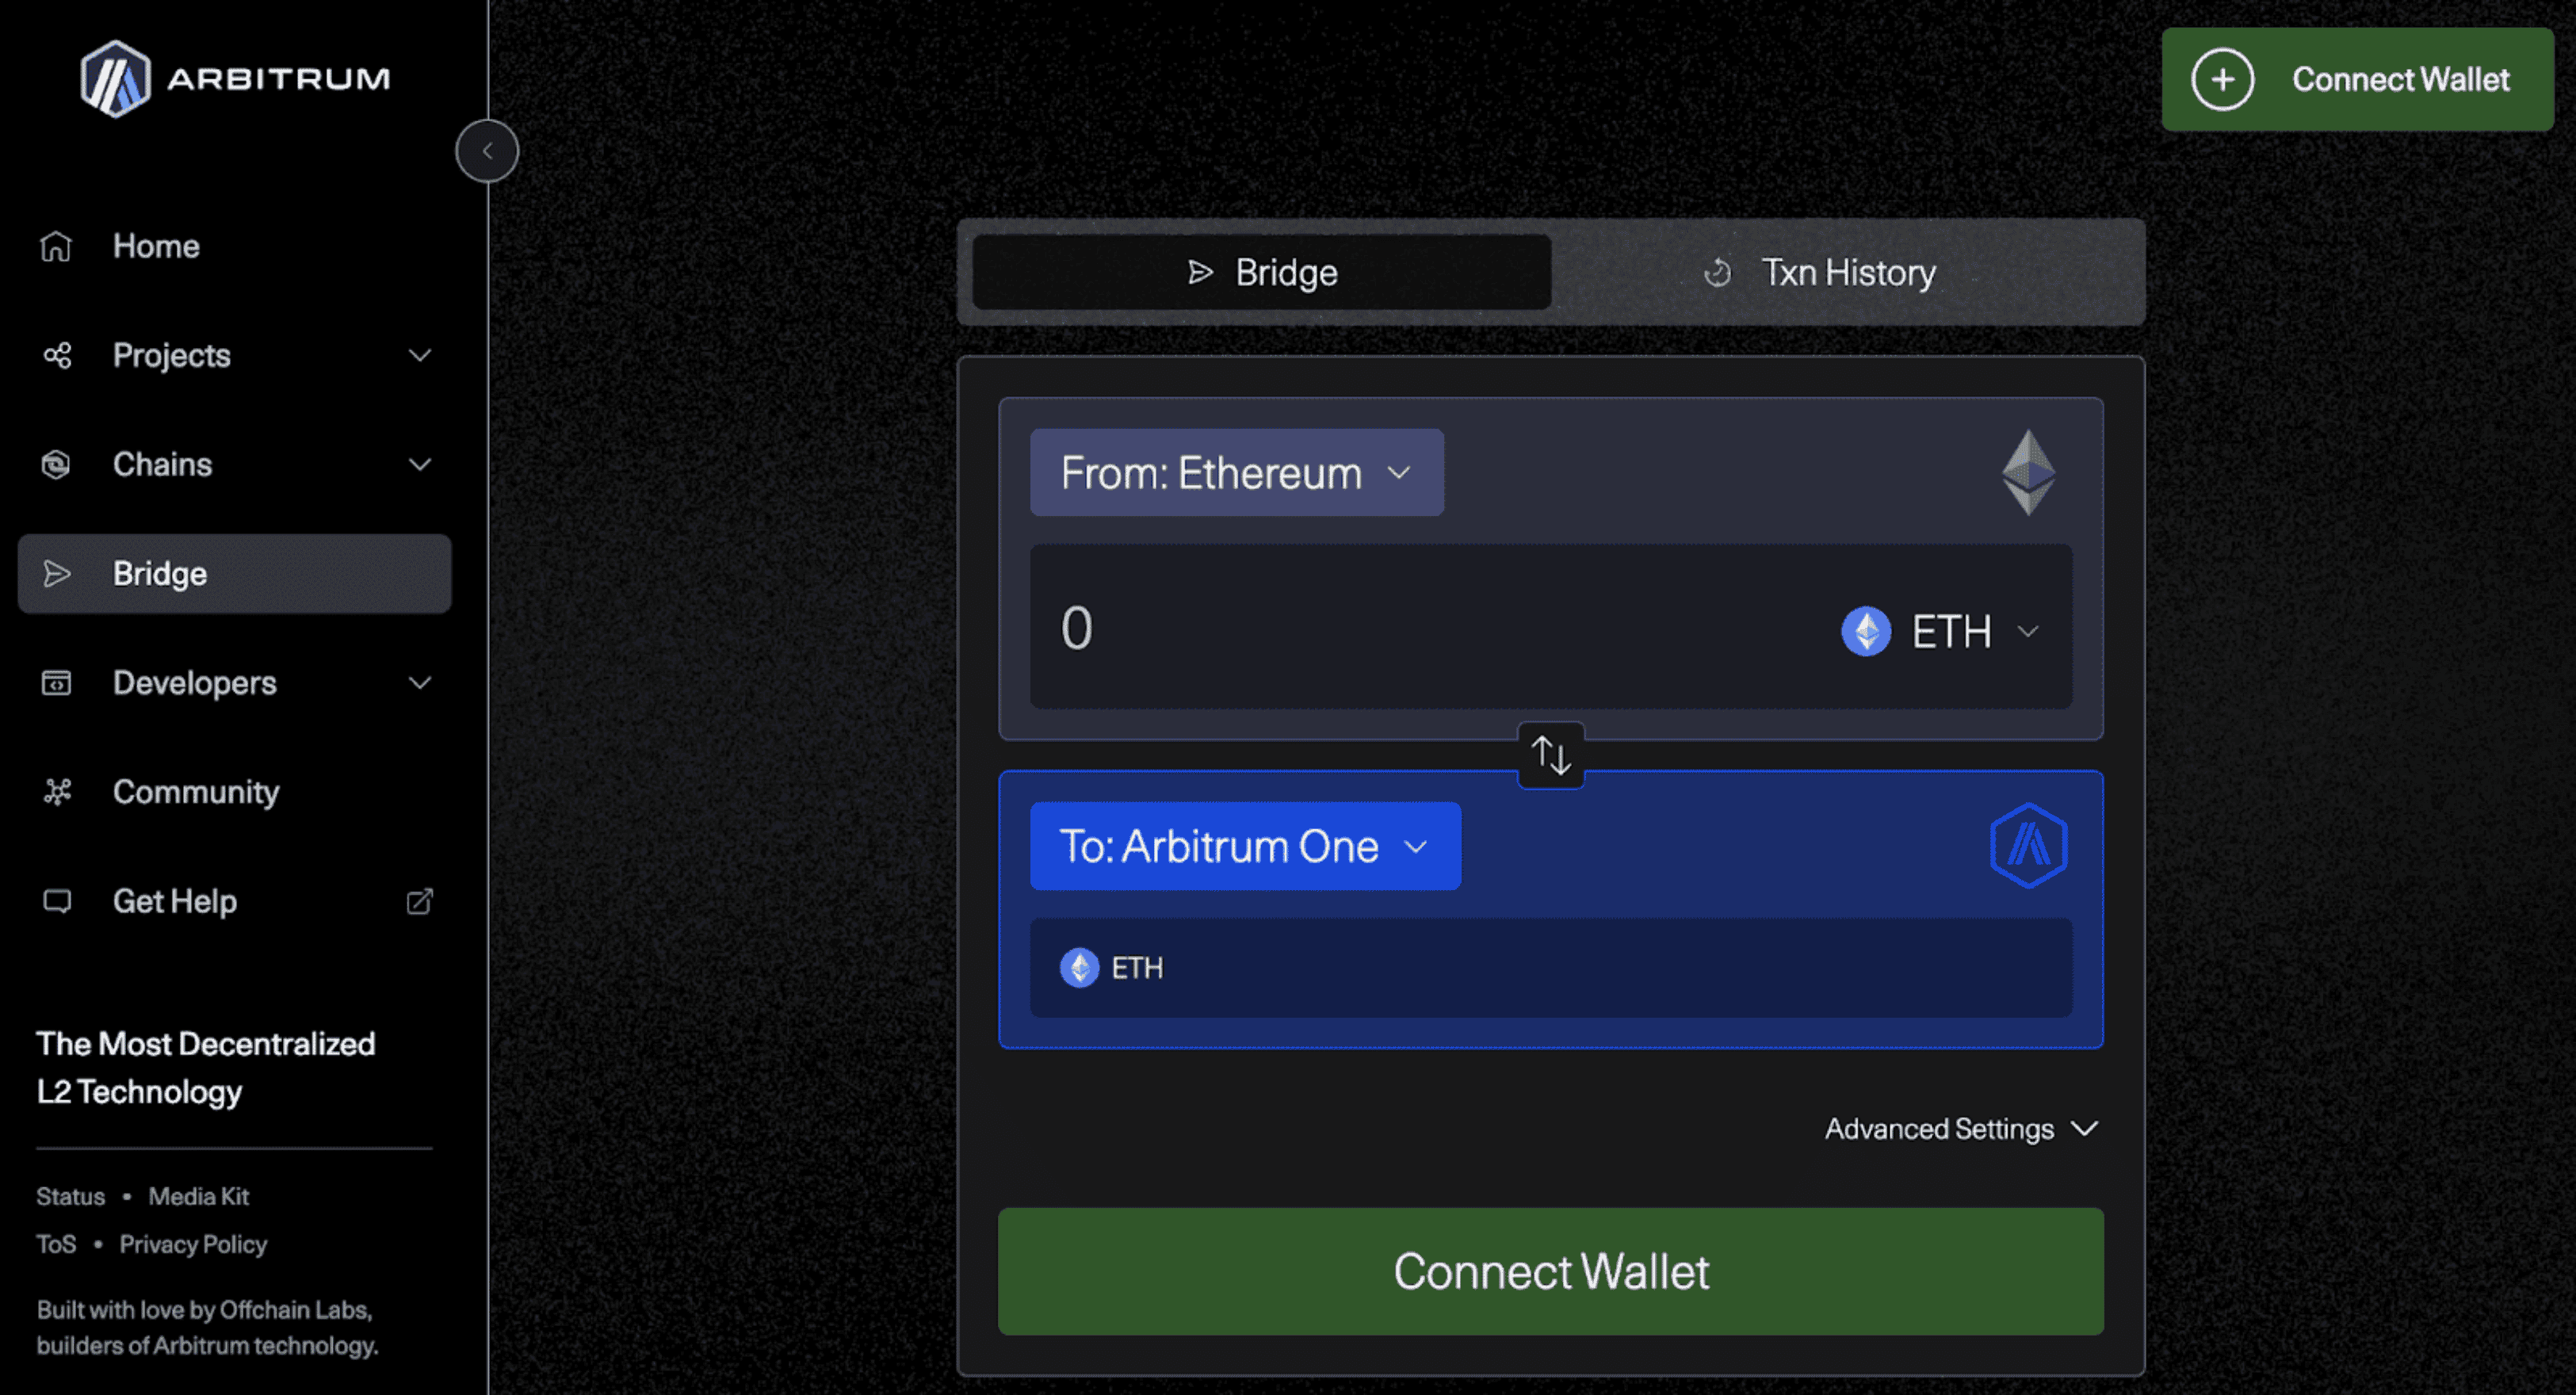
Integrate Bridging Solutions for Asset Transfers Between L1 and L2
No Ronin rollup is an island. To unlock real liquidity and utility, you’ll need secure bridging between Ethereum mainnet (L1) and your custom Ronin L2. Fortunately, Ronin’s native bridge infrastructure makes this process straightforward, but vigilance is key:
- Select audited bridge contracts that support ERC-20s, NFTs, and custom assets.
- Test deposit/withdrawal flows extensively on testnet, including edge cases like reorgs or network congestion.
- Monitor bridge health in real-time. Any downtime can strand user funds or break dApp composability.
The goal: seamless asset transfers without friction or risk. If you’re building cross-game economies or DeFi protocols, prioritize bridging UX, think clear confirmation prompts and transparent fee breakdowns. For deeper technical docs on bridging within the Ronin ecosystem, check out their official resources at Ronin Dev Hub.
Conduct Security Audits and Launch Mainnet Deployment
This is where the rubber meets the road. Before opening your rollup to public users (and real value), conduct rigorous security audits on every layer, smart contracts, node infra scripts, bridge adapters. Consider third-party auditors with experience in both EVM-compatible chains and L2-specific attack vectors (e. g. , fraud proofs for OP Stack or validity proofs for zkEVM).
- Run penetration tests simulating malicious validators/sequencers.
- Audit all custom code paths, especially those handling asset custody or cross-chain messaging.
- Create a public bug bounty program via platforms like Immunefi to crowdsource vulnerability discovery.
The final step: mainnet deployment! Once audits are passed and stakeholders sign off, migrate contracts from testnet to mainnet using automated scripts provided by Ronin’s developer toolkit. Announce your launch in the Builder Discord to tap into community support, and keep monitoring post-launch metrics obsessively for any anomalies as usage ramps up.
Key Steps to Launch Your Custom Ronin L2 Rollup
- Define Your Rollup Use Case and RequirementsBegin by clearly identifying the purpose of your rollup—whether it's for gaming, DeFi, NFTs, or other applications. Assess scalability, security, and user experience needs to guide your architecture and feature set.
- Select the Appropriate Ronin L2 Rollup Framework (e.g., OP Stack, zkEVM)Choose a framework that aligns with your goals. Ronin is introducing a zero-knowledge EVM (zkEVM) powered by the Polygon CDK, or you can explore the OP Stack for Optimistic Rollups. Consider scalability, compatibility, and community support.
- Set Up and Configure Node Infrastructure (Validators, Sequencers, RPC)Deploy and configure essential components like validators, sequencers, and RPC endpoints. Leverage the Ronin Dev Hub for documentation and tooling. Ensure robust monitoring and high availability for your node infrastructure.
- Deploy a Testnet Environment for Your Custom RollupBefore mainnet launch, deploy your rollup on a testnet. This allows you to validate configurations, test smart contracts, and simulate real-world scenarios. Use the Ronin Developer Console for streamlined deployments.
- Integrate Bridging Solutions for Asset Transfers Between L1 and L2Enable seamless asset transfers by integrating established bridges such as Ronin Bridge or Polygon Bridge. Ensure compatibility and security for users moving assets between Ethereum and your Ronin L2 rollup.
- Conduct Security Audits and Launch Mainnet DeploymentEngage reputable audit firms (e.g., ConsenSys Diligence, Trail of Bits) to review your code and infrastructure. Address vulnerabilities, then proceed with your mainnet launch, staking the required 250,000 RON tokens as per Ronin's protocol.
The race to scale Web3 isn’t slowing down, and now that Ronin is embracing Ethereum-native rollups with zkEVM support, developers have more firepower than ever before. Whether you’re optimizing for speed, cost-efficiency, or security-first gaming economies, following these six steps will set you up for success on the next frontier of blockchain scalability. �a0Ready to take the plunge? Dive deeper via the official documentation at Ronin Dev Hub, join the Builder Discord for live support from other pioneers, and let’s redefine what’s possible on-chain together!


No comments yet. Be the first to share your thoughts!