Ronin Network 2026 architecture overview
Ronin has completed its transition from an independent sidechain to an Ethereum Layer 2 network. This migration, finalized with a hard fork in May 2026, aligns Ronin’s infrastructure with the broader Ethereum ecosystem. For users and developers, this shift fundamentally changes how the network handles security, transaction finality, and asset bridges.
Previously, Ronin operated as a standalone chain with its own validator set and consensus mechanism. While this offered high throughput for gaming applications like Axie Infinity, it required users to trust a limited set of validators for security. The move to an Ethereum L2 leverages Ethereum’s base layer for security guarantees. Transactions are now processed on Ronin’s rollup technology and posted to Ethereum for settlement, reducing the risk of isolated chain failures.
This architectural change also impacts how you interact with the network. You will need to ensure your wallet supports the new L2 environment. Gas fees are no longer paid solely in RON; instead, you must hold ETH on the Ethereum mainnet or the Ronin L2 to cover transaction costs. Understanding this shift is essential before proceeding with any setup steps, as it dictates your initial funding and bridge requirements.
Install and configure Ronin Wallet
Ronin Wallet is the gateway to the entire Ronin Network ecosystem. As the platform migrated to an Ethereum L2 architecture in 2026, the wallet now handles both Ronin Chain transactions and bridged Ethereum assets. Setting it up requires installing the browser extension and securing your recovery phrase before interacting with any dApps or games.
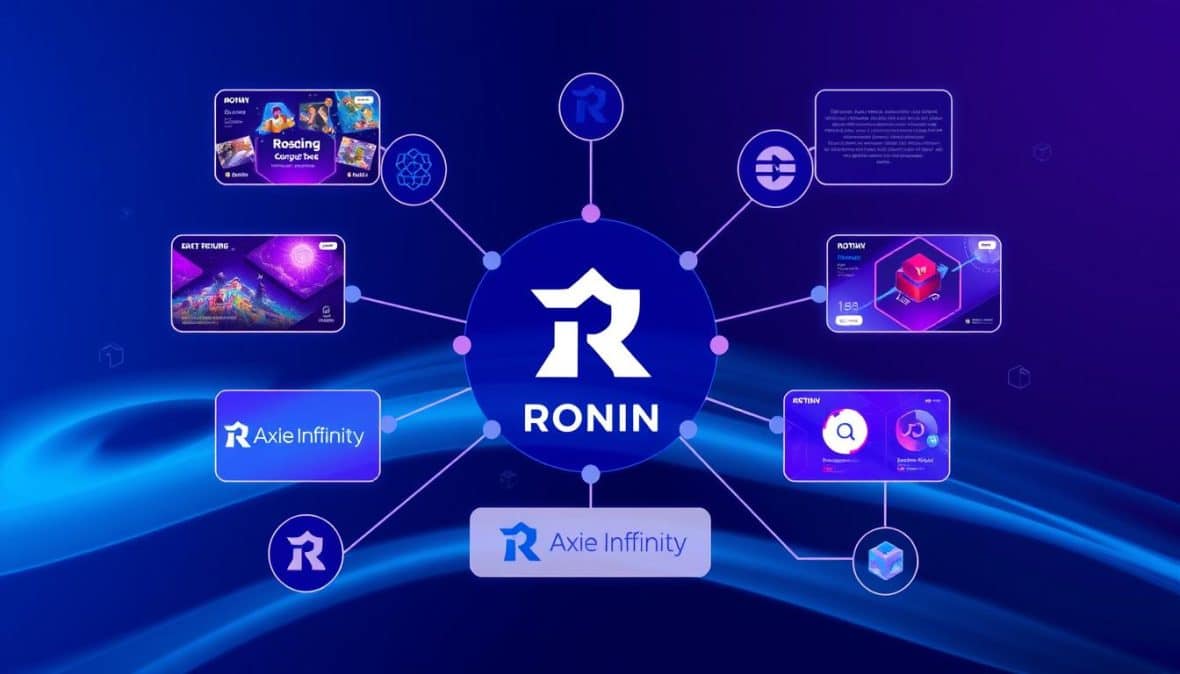
Visit the official Ronin Wallet website and download the extension for Chrome, Brave, or Firefox. Click the browser icon in the top-right corner, select "Manage extensions," and drag the downloaded file into the window to install. Once installed, click the Ronin icon to open the wallet interface for the first time.
On the welcome screen, choose "Create New Wallet" to start from scratch or "Import Existing Wallet" if you already have a Ronin address. If creating new, you will be prompted to set a strong password. This password unlocks the wallet locally on your device and is required every time you interact with the extension.
The system will display a 12-word secret recovery phrase. Write these words down in order on paper and store them in a safe place. Never share this phrase with anyone, including support staff. If you lose access to your device, this phrase is the only way to restore your funds. Once verified, the wallet is ready for use.
To interact with the Ethereum L2, you need RON tokens for gas. You can bridge ETH from the Ethereum mainnet using the built-in bridge feature or purchase RON directly through integrated exchanges like Bitget or Binance. Ensure your wallet has a small balance of RON to cover transaction fees before trying to play games or swap assets.
Navigate to any Ronin-powered game or decentralized application. Click "Connect Wallet" and select Ronin Wallet. The extension will prompt you to approve the connection. Once approved, your wallet address will appear in the dApp, allowing you to sign transactions and manage your assets directly within the ecosystem.
Bridge assets to the new L2
Moving funds to the Ronin L2 requires a deliberate transition from the main Ethereum network. The 2026 migration changes the underlying topology, meaning your standard Ethereum addresses remain valid, but the routing logic for value transfer has shifted. You must explicitly bridge assets to establish a presence on the L2 before interacting with any dApps or paying for gas.
The process involves depositing ETH or ERC-20 tokens from Ethereum mainnet into the Ronin bridge contract. Once deposited, these assets are minted on the L2 side, allowing you to transact with lower fees and faster finality. This step is foundational; without bridged assets, you cannot execute transactions on the new network.
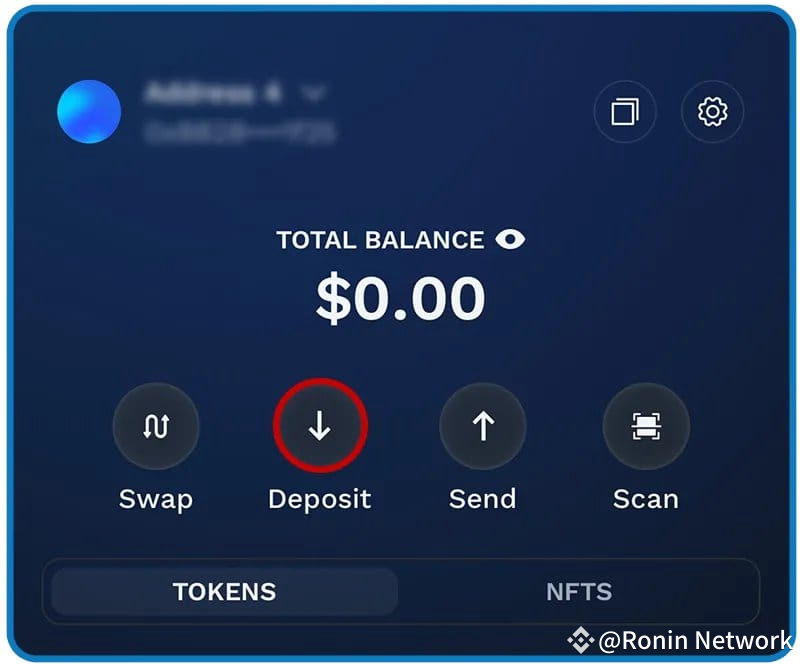
Navigate to the official Ronin Network bridge interface. Ensure your wallet (MetaMask or WalletConnect) is connected to the Ethereum mainnet network. The interface should display your current ETH balance and available ERC-20 tokens on the source chain.
Choose the token you wish to bridge, typically ETH for gas or USDC/USDT for stable value. Enter the amount to deposit. Review the estimated gas fees on Ethereum mainnet and the expected arrival time on Ronin L2. Note that bridge fees may vary based on network congestion.
Click the "Bridge" or "Deposit" button. Your wallet will first prompt you to approve the bridge contract to spend your tokens. After approval, confirm the transaction on Ethereum mainnet. Wait for the transaction to be confirmed on the source chain; this usually takes a few minutes.
Once the bridge transaction is finalized, switch your wallet network to Ronin L2. Refresh your balance to confirm the assets have arrived. You can now use these funds to pay for gas in RON or interact with Ronin-based applications.
Common Ronin L2 Migration Errors and Fixes
Moving to the Ronin Ethereum Layer 2 introduces new technical requirements that can break wallet connectivity if overlooked. The most frequent failure point is gas token confusion. On the new L2, transactions require ETH (or WETH) for gas, not the RON token used on the legacy sidechain. Users who attempt to bridge only RON or hold insufficient ETH will see transactions fail immediately.
Another common error involves network selection in wallet interfaces. After the migration, users must ensure their wallet is configured to the correct Ronin L2 RPC endpoint rather than the old independent chain or a generic Ethereum mainnet setting. Connecting to the wrong network results in "insufficient funds" errors even when the user holds assets on the correct chain.
To resolve these issues, verify your wallet balance includes a small amount of ETH for gas fees. Double-check that your wallet is connected to the official Ronin L2 network settings. If transactions continue to fail, clear your wallet cache and reconnect to the latest Ronin RPC endpoint provided in the official documentation.
Frequently asked: what to check next
Verify your Ronin Network 2026 connection
Before interacting with games like Axie Infinity, confirm your wallet is properly bridged to the Ronin Ethereum Layer 2. This verification step ensures you are operating on the correct network and that your assets are accessible for in-game transactions.
-
Confirm network ID is Ronin L2
-
Check RON token balance
-
Verify transaction history on L2 explorer
If your balance does not appear, wait for the bridge confirmation or check the Ronin Governance Dashboard for any network updates. Once verified, you are ready to launch your game.
Ronin network 2026 setup: what to check next
The transition from an independent sidechain to an Ethereum Layer 2 fundamentally changes how you interact with the network. Understanding these shifts is essential for maintaining access to your assets and games.
No comments yet. Be the first to share your thoughts!